


 Sign in
 Register now
 My Reward Points
DIY Easter Egg Bath Bombs with Natural Colors
If you also have a hobby of crafting DIY products at home, then we have a new experiment for you. Ever thought of making cute DIY easter egg bath bombs? Most of the people out there believe that they are quite tough to make. However, making DIY easter egg bath bombs is much easier to make than you might think.

As Easter is just around the corner, making these cute bath bombs is amazing and colorful to celebrate the holiday. The best part? They make great gifts for family and friends. So, today in this blog, we will be learning how to make DIY easter egg bath bombs. Let's dive in.
Can You Make Bath Bombs with Easter Eggs?
Honestly, as tempting as they look, the real easter eggs won't work for bath bombs. They will melt and crumble during the fizzing process. However, when you opt for silicone molds, cupcake liners, or round plastic containers to shape your bath bombs, then they will hold up better and create fun shapes. So, in case you were planning to make bath bombs with easter eggs, here's your answer.
How to Make Easter Egg Bath Bombs ?
Whenever it comes down to making bath bombs, the ordinary bath bomb recipe contains baking soda and citric Acid. But when you are making easter egg bath bombs, you need a few more ingredients for that visual appeal. It's easier than it looks like. To help you out, we have compiled a simple recipe with all the necessary ingredients and step-by-step directions. Go ahead and try this recipe.

Ingredients
- Baking Soda - 1 Cup
- Citric Acid - ½ Cup
- Corn Starch - ½ Cup
- Epsom Salts - 1 Teaspoon
- Sweet Almond oil - 1 Teaspoon
- Lavender Essential Oil - 20 Drops
- Orange Essential Oil - 20 Drops
Directions
Steps 1: Combine all the dry ingredients and mix them well.
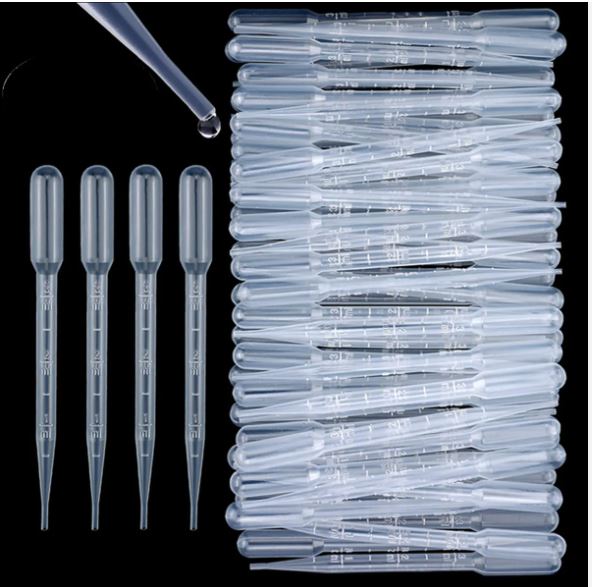
Steps 2: Now, whisk the almond oil along with water and essential oils in a small bowl.
Steps 3: Pour this wet mixture into the dry mix and give it a good mix.
Steps 4: Now, divide the mixture into five bowls.
Steps 5: Immediately cover each bowl with a plastic cover to protect them from drying out.
Steps 6: Add 6-8 drops of food coloring to each bowl and mix again.
Steps 7: Pull the plastic eggs apart; if you are using glitter, sprinkle a little in. Alternate layers of the colored mixture on each side of the egg and press the mixture in gently.

Steps 8: Make the final layer of each side the same color. Top one side off even and the other should be overfilled.
Steps 9: Press together and snap the egg together.
Steps 10: Leave the eggs in the mold for about an hour, and then remove the plastic eggs.
Steps 11: Gently place the egg bath bombs on a towel to dry.
Steps 12: Drop 1 egg in a warm bath to use.
Conclusion
So, this is how you make DIY Easter egg bath bombs at home. This year's Easter can be celebrated uniquely by indulging you and your family in making DIY easter egg bath bombs at home.
Experiment with designs, colors, and textures to give your easter eggs a personalized touch. You can choose to use them on your own or wrap them for gifting to your friends and family.
You May Also Like:
Buy Products


Related Articles
-
 How to Make Marble Candles | DIY Marble Pillar Candle
 -
 DIY Tanning Oil - Best Homemade Recipes For Tan Removal
 -
 Homemade Mustache Wax: Best DIY Recipe With Natural Ingredients
 -
 Kojic Acid vs. Glycolic Acid: Which Is Better for Skin Whitening?
 -
 5 Best Grades of Essential Oils - The Grading System
 -
 How to Make Rose Petal Powder For Skin Care Homemade Recipe


Disclaimer :- This article is intended for informational and educational purposes only and should not be considered a substitute for professional medical advice. For specific health concerns or treatment, please consult your personal physician. The article's editor, writer, and VedaOils organization do not assume any responsibility for any health outcomes resulting from the information provided. Readers are strongly encouraged to seek advice from their physician before acting on any recommendations made in these articles.