


 Sign in
 Register now
 My Reward Points
How to Get Rid of Soda Ash on Homemade Soap
Soda ash or soap ash are the same thing with different names. It is a white powdery substance that forms on the surface of homemade soaps. However, it does not affect the soap’s cleansing qualities as it only dishevels its appearance. It happens when the soap has not cured properly which leaves a white film on the surface.

What is Soda Ash?
Soda ash, also known as sodium carbonate, washing soda, or soda crystals, is an odorless, crystalline solid with a chemical formula of Na₂CO₃. It is crucial in powdered detergents and soaps due to its high alkalinity and surfactant properties.
Troubleshooting Common Soda Ash Issues
It is quite simple to find out the reasons why soda ash is forming on the soap. After identifying you can easily eliminate them.
pH Imbalance in Soap
Soaps are alkaline in nature and contain sodium carbonate also known as soda ash. It can happen due to lye miscalculation or bad quality of lye. To avoid that make sure to properly calculate the quantity of all the ingredients and use a lye calculator to double check any miscalculation. Always use premium quality lye that is recommended by the soap makers.
Inadequate Curing Time or Conditions
When the conditions are not ideal as the temperature keeps fluctuating along with the humidity that can disrupt the curing process. The proper curing process takes up to 4 to 6 weeks to cool down and dry with good air circulation. Be patient and don’t rush the process.
How to Get Rid of Soda Ash on Soap
If your aesthetic soap has a thin layer of soda ash, don’t worry you can easily get rid of it by picking any of the below techniques.

Vinegar or Alcohol Spritzing
Even after proper curing vinegar can react with leftover lye which is sprayed on the soap during the curing process. Alcohol is drying in nature, some soap makers use light spritzing of alcohol to prevent soda ash during the initial stage. If spritzed on cured soap it can lead to drying.
Steam or Heat Treatment
Steaming or heat treatment works amazing for a light layer of soda ash on cured soap. All you have to do is take a handheld steamer and hold it near the soap at a proximity of about 1.5 inches above the soap. Only for 20 to 25 seconds this will dissolve the soda ash layer leaving your soap shiny and clean after drying.
Buffing or Polishing Methods
You can easily get rid of soda ash with a soap shaver to remove the thin layer and make it even. You can also use a dry rag or a nylon cloth to rub off the layer after spraying the soap with some water. For this method make sure to wear gloves to not leave any fingerprints behind.
Prevention Strategies for Soda Ash
We have suggested some prevention strategies for soda ash so you won’t have to worry about its formation.
Properly Covering and Insulating Soap Molds
When soap cures it goes through a series of chemical reactions that release heat known as the saponification process. When air enters this process it leads to the formation of soda ash. It is essential to wrap the soap molds in a towel or a blanket after pouring the soap mixture into the molds. It helps trap the heat and enhance the saponification process which leads to a consistent cure environment significantly reducing the chances of soda ash formation.

Adjusting Recipe Formulations and Additives
You can adjust the level of water discount, superfat, and additives to reduce soda ash formation. Water discount is the method which uses a lesser amount of water than the recipe requires. It has to be done carefully to ensure proper saponification. Also reducing the superfat percentage can significantly impact the soda ash formation, although too low superfat can make the soap drying for the skin. In homemade soap, most of the formulators use beeswax as an additive which can create a barrier on the surface which can reduce its formation.
Controlling Environmental Factors During Curing
It is required to control temperature and humidity during the soap making process. The temperature should be cool and consistent throughout the curing process. As fluctuation in temperature could disturb the saponification process. Humidity could slow down the evaporation of water leading to soda ash.
Using Impure or Hard Water
Water quality matters that’s why it is always suggested to use distilled water. As tap water contains minerals that could potentially react with the soap forming soda ash. However, distilled water does not contain minerals that could react with the soap eliminating the risk of soda ash.
Conclusion
Soda ash problem is faced by many homemade DIY soap makers. It makes your soap appear dull and ruins its design and aesthetic appeal. You can easily tackle these problems by properly following the recipe and measuring the ingredients, dedicated curing time, high quality products, and the use of distilled water. If you still face the issues don’t worry and remove the top layer with a soap shaver, or spritzing some alcohol. There you have it, shiny and clean handmade soap.
You May Also Like:
Buy Products
-
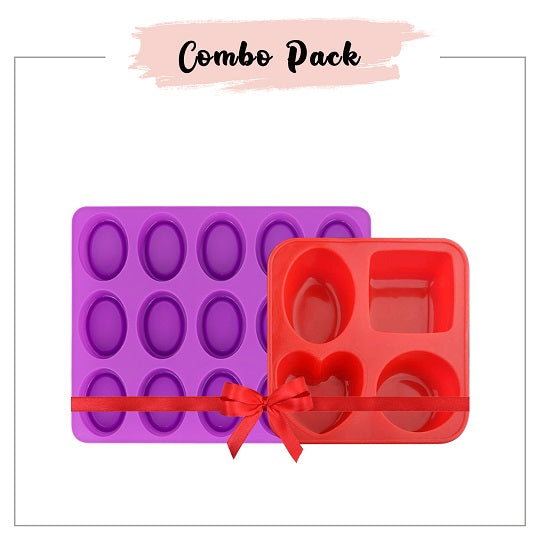 15 Cavity Oval Shape + 4 Cavity Soap Mold - Combo Pack
 -
 Aloe Vera Soap Base
 -
 Castile Soap Bar Making Kit
 -
 White Beeswax
 -
 Yellow Soap Color


Related Articles


Disclaimer :- This article is intended for informational and educational purposes only and should not be considered a substitute for professional medical advice. For specific health concerns or treatment, please consult your personal physician. The article's editor, writer, and VedaOils organization do not assume any responsibility for any health outcomes resulting from the information provided. Readers are strongly encouraged to seek advice from their physician before acting on any recommendations made in these articles.