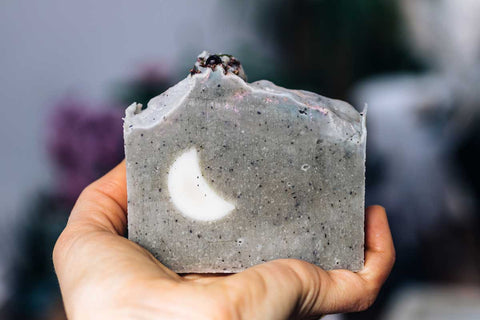
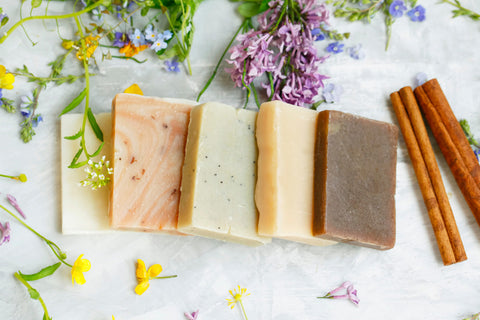
Pine tar soap has been used for over 2,000 years to treat skin conditions such as psoriasis, eczema, and flaky scalp. However, it can be used to soothe and treat poison ivy, oak, and sumac irritations. These pine tar soap recipe treat skin conditions such as psoriasis, eczema, dandruff, insect bites, and minor irritations.

The pine tar aids in the removal of the top layer of skin, which contains the majority of dirt and oil residue. This is a very effective way to cleanse your skin while moisturizing it with all-natural ingredients such as olive or coconut oil. This post will go over the advantages and applications of pine tar soap.
5 Benefits Of Pine Tar Soap For Skin
Pine tar is a thick, gooey pitch that smells smoky, savory, woody, and leathery. Not only that, but it also has numerous skin-care benefits. Let's take a look at some of them.
1.) Pine Tar Soap For Acne
Given its anti-bacterial and anti-fungal properties, pine tar is excellent for treating various skin conditions. These properties aid in the removal of dirt, sebum, and acne-causing bacteria from your skin. Pine tar soap can be used in daily hygiene routines to treat acne on the entire body.
2.) Pine Tar Soap For Dry Skin
Pine tar soap is not only anti-bacterial and anti-microbial but also extremely moisturizing.

When using pine tar soap for dry skin, some people find that they can avoid slathering on moisturizer whenever they wash their hands.
3.) Pine Tar Soap For Skin Fungus
Pine tar has antipruritic, anti-inflammatory, antibacterial, and antifungal properties, making it an ideal ingredient in the soap for treating fungal infections. Pine tar is suitable for topically applying eczema, psoriasis, seborrheic dermatitis, rosacea, and other arid, itchy, flaky, or agitated skin conditions due to these properties.
4.) Pine Tar Soap For Psoriasis
As previously stated, tar soap is sometimes recommended to relieve psoriasis symptoms such as itching, inflammation, and scaling. Tar soap made from pine and coal tar is used to treat psoriasis. Pine tar soap has a strong pine scent and is made from pine tree resins.
5.) Pine Tar Soap For Eczema
Pine tar is a non-greasy, water-soluble ingredient that is excellent for dry skin. The use of pine tar relieves severe itching and inflammation. To treat eczema, dermatitis, colitis, and other dry, itchy, burning sensation or wonky skin conditions.

Homemade Pine Tar Soap Recipe
Pine tar has been a component of soaps for many years. Eczema, dandruff, psoriasis, and other itchy skin disorders, including insect bites, are known to improve with their use.
Ingredients Required
- Cold Distilled Water - 283 Grams
- Lye (Sodium Hydroxide) - 108 Grams
- Salt - 1 Teaspoon
- Virgin Olive Oil - 510 Grams
- Virgin Coconut Oil - 213 Grams
- Castor Oil - 43 Grams
- Pine Tar - 85 Grams
- Cedarwood Essential Oil - 21 Grams
- Lavender Essential Oil - 15 Grams
Directions To Make
Step 1: Add one teaspoon of salt to the cold water while stirring. If you're using silicone molds, this will help the soap emerge from the mold more easily.

Step 2: Use the appropriate gloves, goggles, and safety equipment.
Step 3: Add the lye and swirl until completely dissolved after stirring the salt. For a brief period, this mixture will emit potent fumes you should avoid inhaling as it heats up quickly.
Step 4: To let the lye solution cool, set it aside. To get mine to room temperature, let it sit for a while.
Step 5: Pine tar soap requires cooler temperatures than usual to prevent it from forming too quickly. Typically, we deal with warmer temperatures.
Step 6: While the lye is cooling, prepare your mold and measure the oils in a stainless steel, heat-resistant plastic or enamel container.
Step 7: Just enough to make it liquid, and combine with the other oils requires melting the coconut oil. When you are ready to blend, set the oils aside.
Step 8: When making soap, combine the oils with the pine tar by stirring them together.

Step 9: During the following step, make sure you are donning gloves and safety glasses.
Step 10: Using a sturdy plastic or silicone spoon or spatula, add the lye solution to the oil/pine tar combination and stir.
Step 11: As you'll observe, the soap batter thickens rapidly.
Step 12: Depending on the temperatures, mixing by hand may take 4 to 5 minutes to thicken.
Step 13: Fill the mold with the thickened soap batter, then leave. This soap doesn't require covering or insulation.
Step 14: You can try unmolding in 48 hours. Pine tar soap initially sets up pliable but hardens when it dries in the air. It should be much simpler to unmold if you added salt to the lye water than if you didn't.
Step 15: Cut into bars and let them sit for at least four to six weeks to cure.
Conclusion
In conclusion, the pine tar soap recipe is a great technique to exfoliate your skin regularly and prevents fungal illnesses like psoriasis, eczema, and acne. Use VedaOils to get the best pine tar soap recipe. Purchases made at VedaOils.com are discounted.
Frequently Asked Questions
Welcome to our comprehensive FAQ section on Pine Tar Soap Recipe!
Q: What scents go best with pine tar soap?
A. Since pine tar has a strong scent, combine it with cedarwood and lavender essential oils to soften its perfume and enhance the overall scent profile.
Q: Does pine tar soap expire?
A. This pine tar soap recipe produces soaps that last a year.
Q: Can you use pine tar soap daily?
A. Pine tar soap with anti-fungal properties has been proven in studies to have few to no negative effects and to be safe for everyday usage, even on facial skin.
Q: Can you wash your hair with pine tar soap?
A. Safe for all hair types, even those with color treatments. Daily use is safe for sensitive skin and is gentle enough.


 Sign in
 Register now
 My Reward Points


